Installing Bioperl in Windows
Go back to Bioperl introductionary training#Exercises
Bioperl is a collection of modules which can be used in Perl for sequence data analysis. When you have installed ActiveState perl (in the previous exercise), the Perl Package Manager is at your disposal.
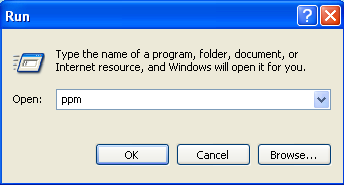
Go to start -> Run..., and in the window you type 'ppm'.

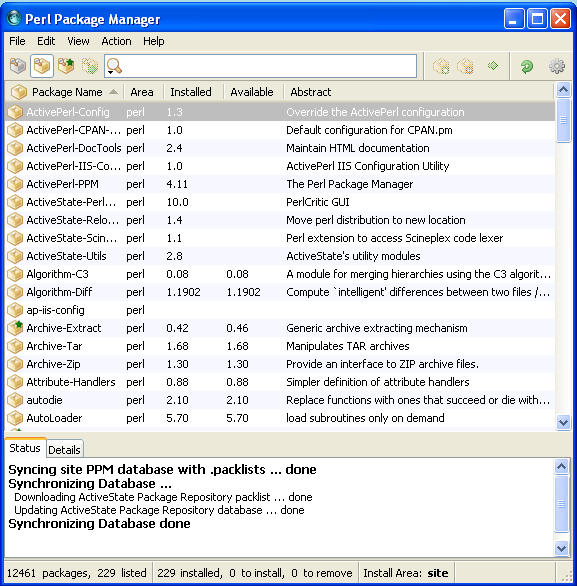
The PPM window opens. It shows you which perl modules have been installed, and which are available but are not installed. You can also delete perl modules from here. (Note: this way of installing software is alike installing in Linux).
To install Bioperl, you have to add the Bioperl repository. A repository is (mostly) a url, pointing to a server on which the software is available. The program will download the software/packages and install them on your computer. The Bioperl repository is: http://bioperl.org/DIST (mind the cases!).
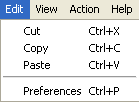
Go to 'Edit' -> 'Preferences'. Select in the preferences the tap 'Repositories' and add the details of Bioperl repository. Click on Add.
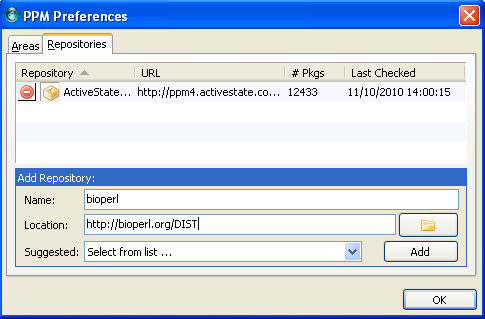
When it is added, the Bioperl repository should be listed under repositories.
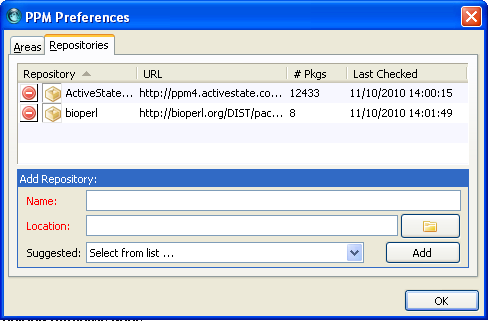
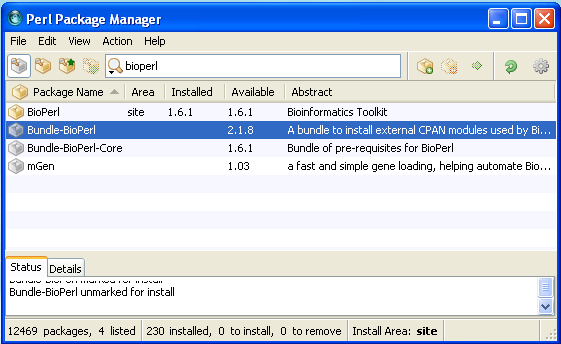
Close the preferences window. Now search for Bioperl in the search box at the top. Bioperl should be listed.
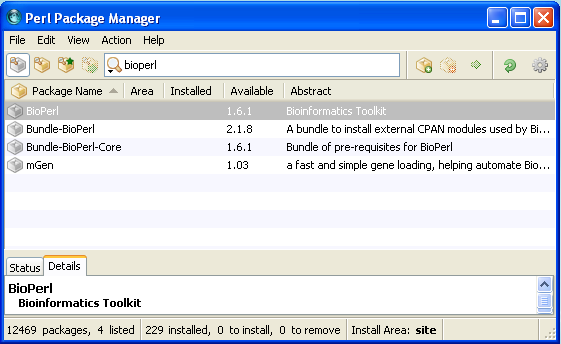
Mark the Bioperl for installation.
![]()
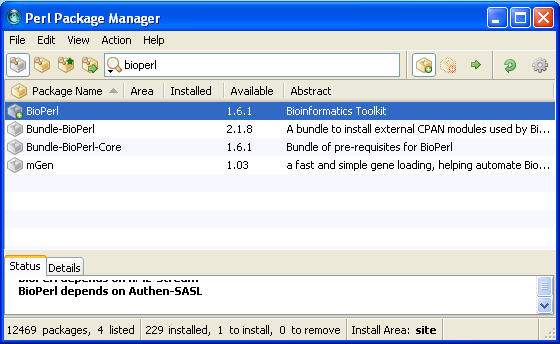
Execute the installation of packages marked for installation by clicking ![]() . He will ask to proceed installation (click yes).
. He will ask to proceed installation (click yes).
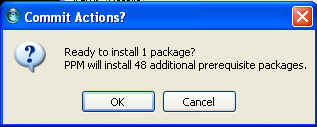

And bioperl is installed after a while! Your PPM should look like this.
For the training session we need also:
- Data-dumper-simple
- Data-stag
Install these two packages the same way as we did for Bioperl. Note: you can mark both packages for installation first, and after both are selected, run the installation.